
![]() ;
;
Backpack Station
Today’s Daily Prompt word is Collaboration.
Collaboration: the action of working with someone to produce or create something
When I sat down to write about today’s Daily Prompt word, I couldn’t help but think about a project my husband and I worked on together. Our kids were constantly leaving their jackets and backpacks on the floor. We decided we NEEDED a solution for our sanity. A backpack station was the perfect project for us. We were able to spend extra time together, exercise teamwork, improve our communication with each other and ultimately…ended up with a beautiful focal point in our house!
via Daily Prompt: Collaboration

To complete this project, you will need:
- pine wood pieces
- nail gun and nails
- painters tape
- plastic bags
- white caulking
- paint brush
- white paint
- black chalkboard spray paint
- 2 coat hooks
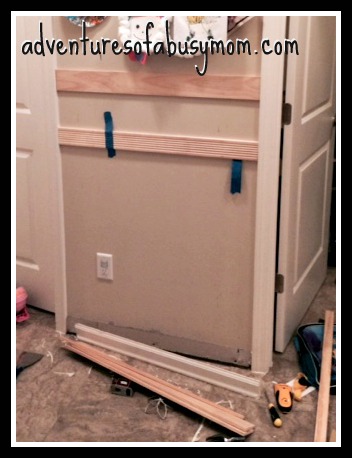
Step One:
- remove the floor board
- measure and cut wood for the 3 horizontal pieces (we used a ribbed piece for the middle piece for aesthetic purposes)
- attach these boards with a nail gun (we used painters tape to hold them in place)
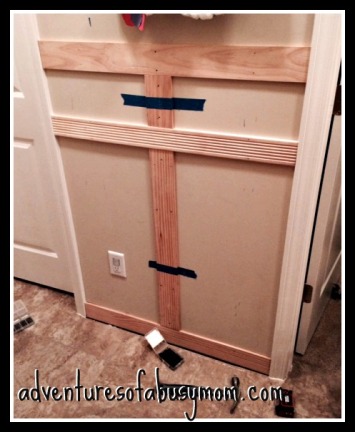
Step Two:
- measure and cut your 2 vertical pieces
- use the nail gun to attach them like you did the horizontal pieces
- apply calking along the places where the new wood pieces meet the wall as well as along the wall and the pre-existing door frames to remove any cracks
- be sure to smooth it out as you go (I used my finger so it would be smooth to the wall)
- less is best
- use a little bit of caulking to smooth out where the nails are
- let dry completely
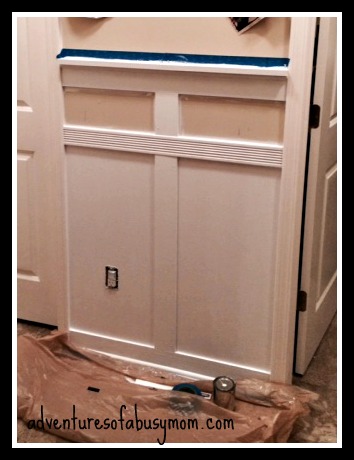
Step Three:
- use painters tape to protect any places you do not want to be white (we also had to remove an outlet cover)
- paint all of the wood pieces and the two large wall sections which are framed in
- let dry completely
- my paint didn’t match the door frames so I had to this step twice! Be sure to double-check your paint before you start!
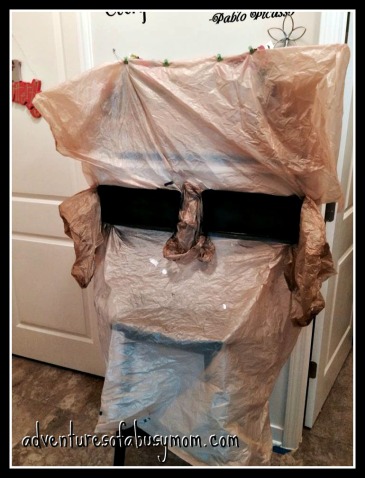
Step Four:
- for the black sections, I used chalk board spray paint (you could use regular paint vs spray paint if you prefer. I chose the spray version because it was cheaper.
- I really didn’t want to worry about any over-spray so I used plastic bags to block of EVERYTHING but the section I wanted chalkboard paint on
- use painters tape to tape off the section you want the chalkboard paint
- evenly spray the 2 sections with the chalkboard paint
Step Five:
- let the paint dry completely!
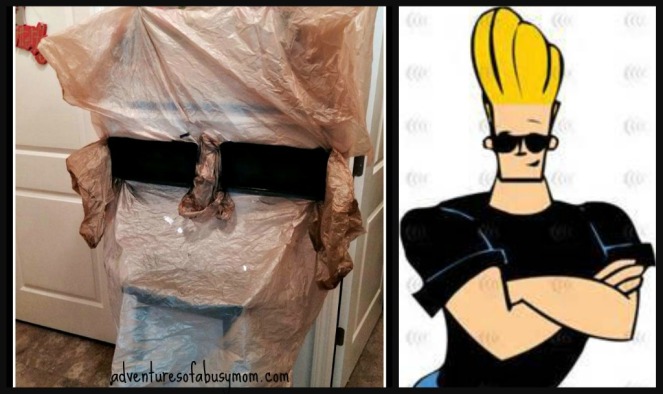
This step had me laughing every time I walked past because I thought it looked like the cartoon Johnny Bravo!
Step Six:
- double-check that the paint is completely dry
- slowly and carefully remove the painters tape
- slowly and carefully remove the plastic bags
Step Seven:
- Attach two coat hooks with sturdy nails (jackets and backpacks can be heavy)
- Use chalk to write your children’s names on their section to finish it off
That’s all there is to it! Don’t let it intimidate you.
It is an easy but time-consuming project since you need to let the paint dry in-between steps. I am so happy with how it turned out!
If you have any questions, please ask!
Don’t forget to “like,” “share,” and “comment”

With Aloha,
Lacy


What a fabulous idea. Just love it 😃🐻
LikeLike
Thank you! I’m glad you like it!!!
LikeLiked by 1 person
That is super cute!
LikeLike
Thank you!!!
LikeLike